Angular and APIs
Angular 1
For the purposes of this article, we’ll be discussing Angular 1 and not Angular 2. I hope to be able to make a blog post about Angular 2 in the future when I have time to get my hands on it.
Angular is an MVC (though this is much debated, MV* if you prefer) web framework built using our favorite language, Javascript. Angular is developed by Google and extends HTML functionality to make use of dynamic rendering. Gone are the days of simple, static webpages. With frameworks like React and Backbone alongside Angular, the web is becoming a content-rich dynamic place to share information, and applications still need to keep up with user expectations. These applications are designed to load content quickly and I find writing code to be faster when using a framework like Angular, because it enforces modularity.
A note about modularity
Modular code is broken into small re-usable parts that can serve more than one specific purpose. Being modular will make you a better programmer because you will write more efficient code that it easier to follow and understand. Coding in a modular style also helps me to understand both the framework I’m utilizing and the data flow inside my own application.
Angular is an opinionated framework, which means that its structure is a little rigid, and you’ve got to play by Angular’s rules. Though once you learn the rules and jargon, playing with Angular can be a real blast. Don’t fret, Angular has extensive and thorough documentation available. Angular makes use of built-in HTML attributes, as well as some of their own to extend functionality. Angular’s attribute tags can be recognized by their ng- prefix. I’ll cover a few of the more common tags and how you can use them to get started.
‘ng-‘ tags
Angular uses custom attribute tags on HTML elements to help you render dynamic content and manage two way data binding. Two way data binding is one of Angular’s unique features that can make it more convenient to work with than other frameworks. Two way data binding means that there is communication going TO the model FROM the view and vice versa. This two way relationship means that the model and view are in a constant similar state. When data updates on the model, the view updates as well, updating the UI. When data updates on the view, then the model is updated to reflect the mutated data, which is great for handling user input. Remember that our view is represented by an HTML element being rendered on the screen. There are dozens of built-in directives designed to make your time with Angular more productive. In Angular, the controller is the glue between the model and view that keeps them together, and manages the two way data flow.
Examples Using Travelr
Here I’ll show some of the code from my own Angular app called Travelr. Travelr is a free, open-source app coded using Express, Node, and Angular. If you’re interested in Express or Node, check out last week’s post, all about Express!
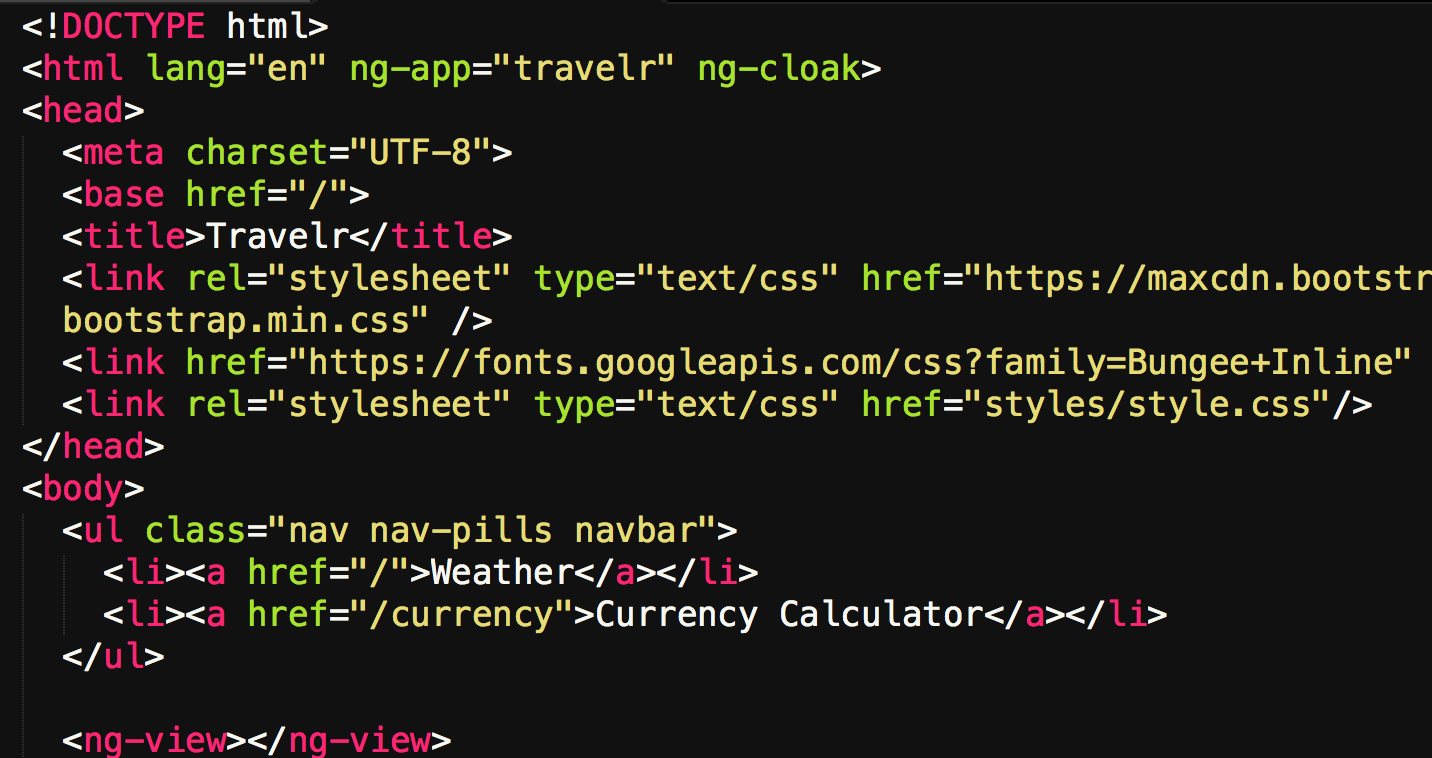
ng-app is the way default way to assign an Angular module to an HTML file; this will automatically bootstrap the application. Assign ng-app the name of your app that you designed in your app file. In my case, I used the name of my app, travelr.
 The ng-app tag usually goes on the html tag. ng-cloak here is preventing our page from loading before the handlebars/mustaches have injected the desired data.
ng-controller is used to assign a controller to an element and its nested elements. Doing so will make methods and properties defined inside the controller available in our HMTL.
 Here we see how to apply a controller to an element within our app.
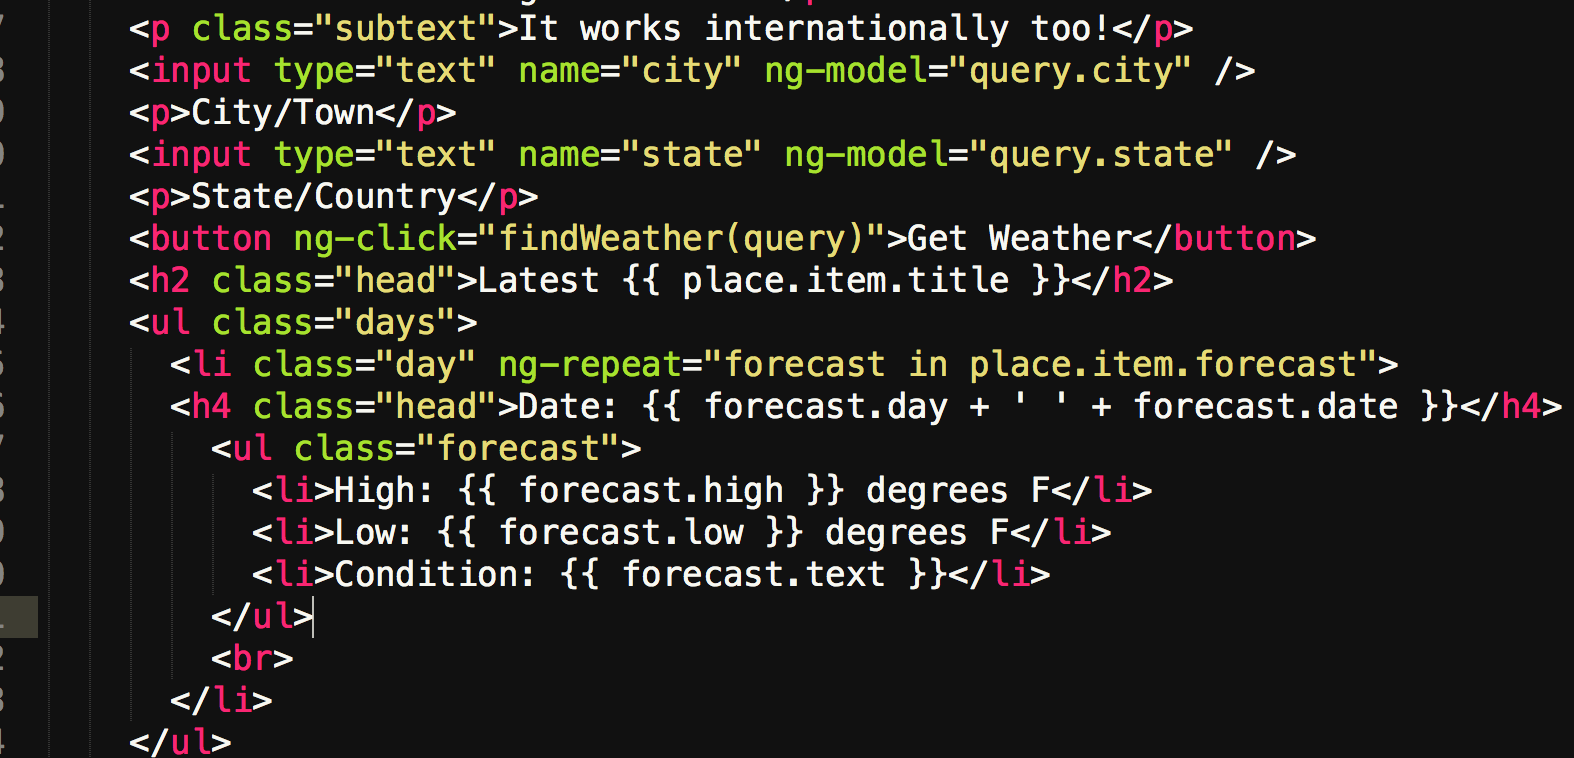
ng-model binds a specific element (view) to a model associated with the element’s controller. The controller maintains a relationship between the model and the designated view.
 In the weather portion of Travelr, to search the API, the user must enter their search terms into the input fields. The input fields pass the data along through the ng-model whenever they are updated.
ng-click is a handy way of binding a function on the controller to an HTML element. The function findWeather is being called by our new click handler. Let’s see what that code does with the query object passed into it.
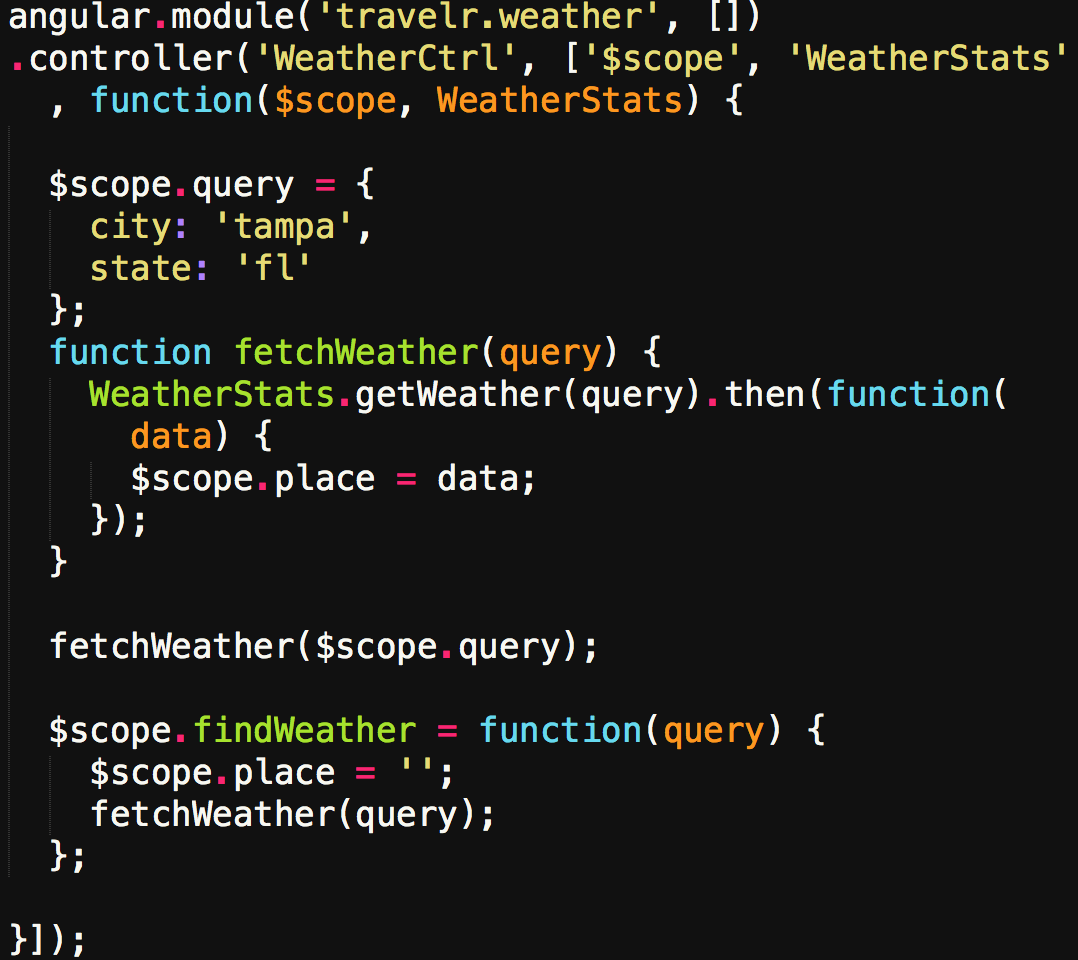
 The click event is calling the findWeather function, which in turn calls fetchWeather, and that calls getWeather.
Here you’ll see the query object we’ve been passing in to get the weather. Not yet pictured is the getWeather function, which handles getting the data from the API. The models defined in our input tags are changing the city and state properties on our query before passing it through our asynchronous function chain whenever the user changes the input.
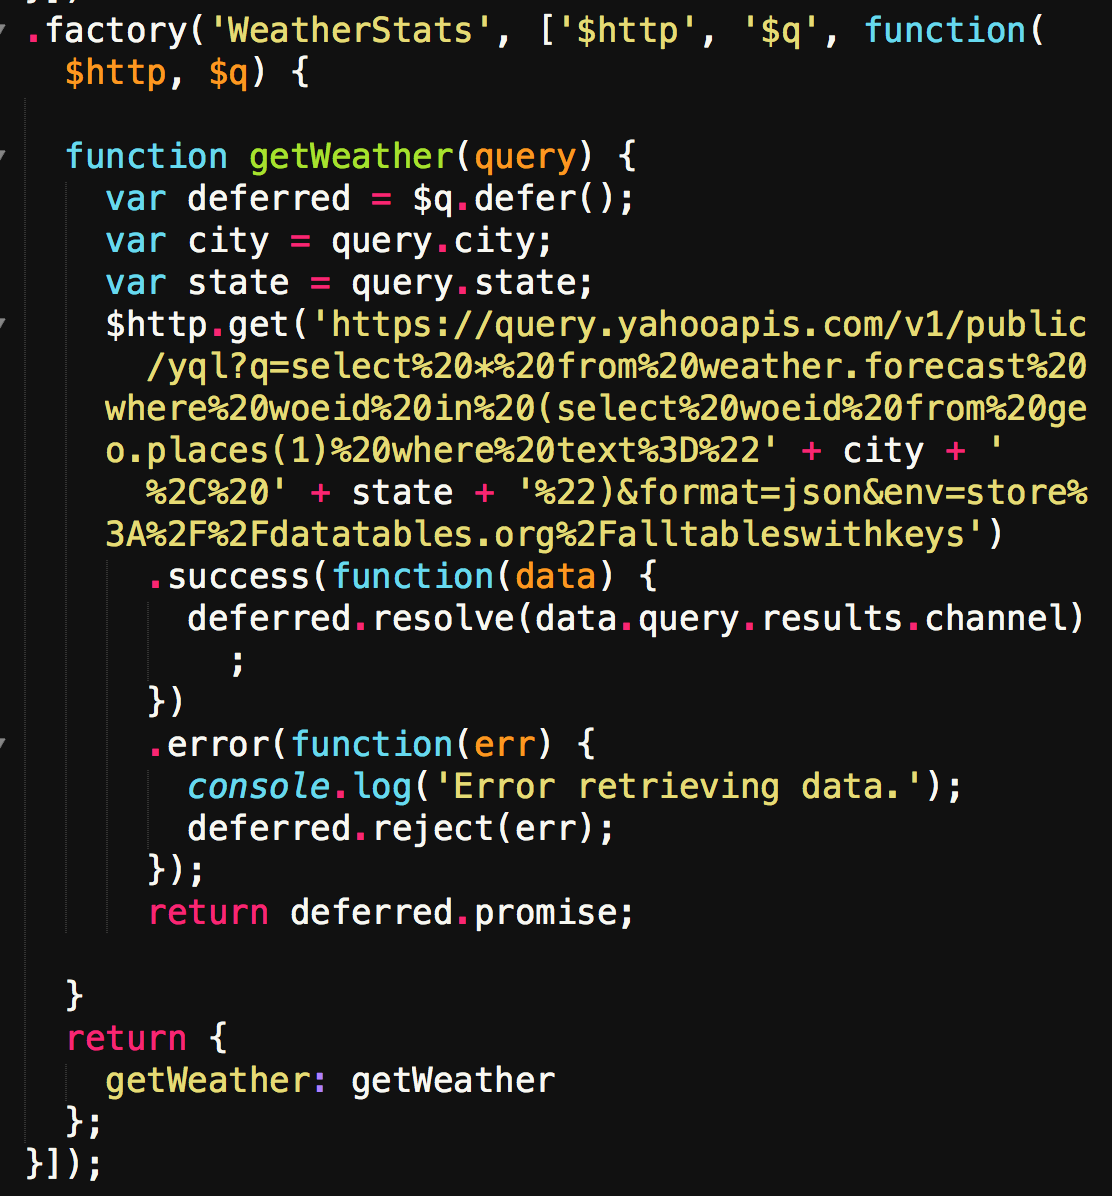
 getWeather passes the query to the Yahoo Weather API, which works around the globe and returns the data in a promise.
Finally, we pass our query object in to the getWeather function and save our data when the data returns to our findWeather function. The properties on the saved data, in this case the saved data from my GET request, is on the place property. Using the API documentation for the Yahoo Weather API, I was able to navigate the saved object and inject the desired properties into my HTML using {{ handlebars/mustaches }}, whatever you prefer to call them. I like to imagine them as a mustached man riding a bike.
API-ngular
At first, manipulating data through an API in Angular seemed like a daunting task. I started my project, taking it one step at a time, writing modular code and focusing on a minimum viable product. I suggest working at a manageable pace, and focusing on one aspect of your code at a time. My personal strategy was to make a couple GET requests to the desired API using Postman, then hard code the data into my application, and render it the way I wanted. This way, I knew what to expect for a result, and had one less thing to debug when things weren’t rendering as expected (surprise!). Once my app was rendering correctly, I started hooking up the API. From there, it was as simple as saving the data and deleting my hard coded information. In addition, keep in mind a view is the data being rendered on the page, usually in the form of an HTML element. A more thorough version of Travelr’s source code is available on a github repo.
Check out the links below if you’d like to learn more about Angular, in particular, scotch.io has many great resources for quirky problems and solutions you may run into during your Angular adventures.
Happy coding!